Website Migration Checklist: The Complete Guide to Migrating Without Losing Traffic
A website migration is one of the highest-risk things you can do to a site that is currently working. Done well, it improves speed, security, and structure with only a temporary dip in rankings. Done carelessly, it can erase years of SEO progress in a weekend, and the damage is often invisible until traffic has already dropped

Khul Anwar
Growth

TL;DR: A website migration is any major change to your site's domain, platform, structure, or hosting, and it puts your search rankings at risk if handled carelessly. Work through four phases: plan and benchmark before you touch anything, build and test on a staging site that search engines cannot see, map every old URL to a new one with 301 redirects, then launch and monitor closely. Most migration traffic losses come from preventable mistakes, missing redirects, a leftover noindex tag, broken forms, an expired certificate, or spam and broken pages nobody caught. The riskiest phase is the weeks after launch, when problems surface silently, which is why continuous post-migration monitoring matters as much as the migration itself.
A website migration is one of the highest-risk things you can do to a site that is currently working. Done well, it improves speed, security, and structure with only a temporary dip in rankings. Done carelessly, it can erase years of SEO progress in a weekend, and the damage is often invisible until traffic has already dropped. The good news is that the failures are predictable, which means they are preventable. This checklist walks through every phase, with the heaviest emphasis on the part most guides rush: catching problems in the weeks after launch, before they compound.
What Is a Website Migration?
A website migration is the process of making a significant change to a website's technology, structure, design, or location. The label covers several different projects, each with its own risks:
- Domain change - moving to a new domain name, often as part of a rebrand
- Platform or CMS change - moving between systems, for example from Wix to WordPress or Squarespace to Webflow
- HTTP to HTTPS - securing the site by moving to an encrypted connection
- Site structure change - reorganizing URLs, consolidating pages, or changing navigation
- Hosting change - moving to a new server or host, usually for speed or reliability
Many real migrations combine several of these at once, for example a rebrand that changes the domain, the platform, and the structure together. The more you change in one migration, the higher the risk, and the more important a careful checklist becomes.
Does a Website Migration Hurt SEO?
In the short term, almost always yes, a little. Search engines need time to recrawl, understand, and re-rank your changed site, so a temporary dip is normal even for a flawless migration. In the long term, a well-executed migration is usually neutral to positive, especially if it improves speed and structure.
The permanent losses, the ones that never recover, are not caused by migration itself. They are caused by preventable mistakes: broken or missing redirects, a staging noindex tag left on the live site, forms that stopped working, a certificate that lapsed, or pages that quietly started returning errors. Every item on this checklist exists to prevent one of those.
Phase 1: Plan and Benchmark Before You Touch Anything

Skipping planning is how migrations go wrong before they even start. Do this two to four weeks ahead.
Set clear goals and success metrics.
Decide what the migration is for (faster load times, better structure, a rebrand) and how you will measure success, such as retaining 95 percent of organic traffic or improving Core Web Vitals. You cannot tell if a migration succeeded without a target.
Benchmark your current site.
Capture your starting point while the old site is still live, because you cannot compare against data you did not record. Note down:
- Current keyword rankings and organic traffic
- Number of indexed pages (from Google Search Console)
- Core Web Vitals and page speed scores
- Conversion rates and key user actions
- Your top-performing pages by traffic and conversions
Document your current site architecture.
URL structure, content hierarchy, navigation, template types, and third-party integrations. This is what you will rebuild against.
Audit the current site and fix issues first.
Broken links, slow pages, and technical SEO problems carried into a migration become harder to untangle afterward. Fixing slow page load time and broken links before you migrate means you are not debugging old and new problems at once.
Assess risk and plan a rollback.
For each likely problem (ranking loss, broken redirects, indexing issues), note how you will detect it and how you will revert if needed. A rollback plan is the difference between a bad afternoon and a lost month.
Phase 2: Build and Test on a Hidden Staging Site
Build the new site in a staging environment so you can break things safely.
Create a staging copy.
A duplicate of your site on a subdomain like staging.example.com, where you can rebuild and test without touching the live site. Ask a developer if this is outside your comfort zone.
Block search engines from the staging site.
This is critical and commonly botched. Add password protection, and add a noindex tag to every staging page so it cannot appear in search results and compete with your live site. Remember this tag exists, because forgetting to remove it at launch is one of the most damaging migration mistakes there is.
Improve the site while you are in there.
A migration is a rare chance to fix on-page SEO, refresh outdated content, compress images, and improve Core Web Vitals. Do not try to perfect everything, prioritize your highest-traffic pages.
Run a full technical check on staging.
Crawl the staging site and fix errors before they reach production. Confirm the site works on mobile and desktop, analytics is installed, and there is no placeholder content left behind.
Lower your DNS TTL.
If you are changing hosts, lower your DNS "time to live" a day or two ahead so the switch propagates quickly when you go live. Set it back to normal afterward.
Phase 3: Map Every Old URL to a New One

If your URLs are changing, this phase is where rankings are won or lost. Skip it only if your URLs stay identical.
Build a complete list of your current URLs.
Pull from multiple sources so you miss nothing: your XML sitemap, Google Search Console's crawled pages, your analytics, a site crawl, and your list of pages with backlinks. Backlinked pages matter most, because those links are equity you do not want to break.
Decide the fate of every URL: redirect or remove.
- Moving to a new URL? Add a 301 (permanent) redirect from the old URL to the new one. This sends visitors to the right place and tells search engines to transfer ranking authority to the new URL
- No equivalent on the new site? Do not redirect it to the homepage, which confuses users and search engines. Let it return a 410 (gone) status instead
The result should be a URL map: a spreadsheet with old URL, new URL, and status code for every page.
Update internal references on the staging site.
Fix the URLs in your navigation, footer, body links, XML sitemap, robots.txt, and canonical tags so nothing points at an old address or an unnecessary redirect.
Phase 4: Launch and Monitor Closely

Launch day and the weeks after are where silent failures do their damage. Move carefully.
Record final data and back everything up.
Capture your last pre-migration benchmarks and take a full backup of files and database. This is your safety net.
Migrate in chunks for large sites.
Move content section by section, starting with smaller or lower-priority areas, testing after each chunk. This makes problems easier to isolate.
Update DNS and switch over.
Point your DNS at the new server if you changed hosts, and reset your TTL to normal.
Remove every temporary block.
Delete password protection and, above all, remove the noindex tags from the live site. A live site that is still telling Google not to index it will simply vanish from search, and it is a shockingly common launch-day mistake.
Enable your redirects and removals.
Turn on the 301 redirects and 410s from your URL map, then verify a sample by hand to confirm each lands where it should in a single hop.
Complete Search Console tasks.
Verify ownership of the new site, submit a Change of Address if you moved domains, and submit both the old and new XML sitemaps so Google can discover your redirects and track the transition.
Update external links you control.
Your social profiles, email signatures, business listings, and Google Business Profile should point to the new URLs. For backlinks you do not control, reach out to the most valuable ones and ask.
The Post-Migration Checklist: The Part That Actually Protects Your Traffic
Here is what most migration guides underplay. The migration is not finished on launch day. It is finished weeks later, once Google has fully recrawled the site and you have confirmed nothing broke in the process. The problems that permanently cost traffic almost always surface in this window, and almost all of them are silent.
Consider what can go wrong after a launch that looked successful:
- A redirect quietly breaks or was missed, so a valuable page now 404s
- A certificate fails to transfer, and the new site throws a security warning that blocks every visitor
- A contact form stops delivering on the new platform, so leads vanish while the success message still shows, exactly the failure covered in why forms stop sending emails
- Broken internal links appear because some references were never updated
- Page speed regresses on the new setup, dragging down Core Web Vitals
- Indexing goes wrong: old pages are not deindexing, new pages are not indexing, or, in the worst case, that leftover
noindextag is quietly deindexing the whole site
None of these announce themselves. The site looks fine to you. The first symptom is a traffic or ranking drop that shows up in your analytics two or three weeks later, by which point the cause is buried under everything else that changed.
The standard advice is to re-run a site crawl manually at 30, 60, and 90 days and hope you catch things in between. That works only if you remember, and only for problems that happen to exist on the day you check. A redirect that breaks in week two, on a manual-check schedule, goes unnoticed until week four.
Monitor Continuously Instead of Checking on a Schedule
This is where continuous monitoring changes the math. Instead of you remembering to crawl the site, something watches it around the clock and tells you the moment a migration problem appears.
This is the exact window Kapient is built for. It continuously scans your migrated site across more than 74 technical and quality factors, which map directly onto the migration failure list above:
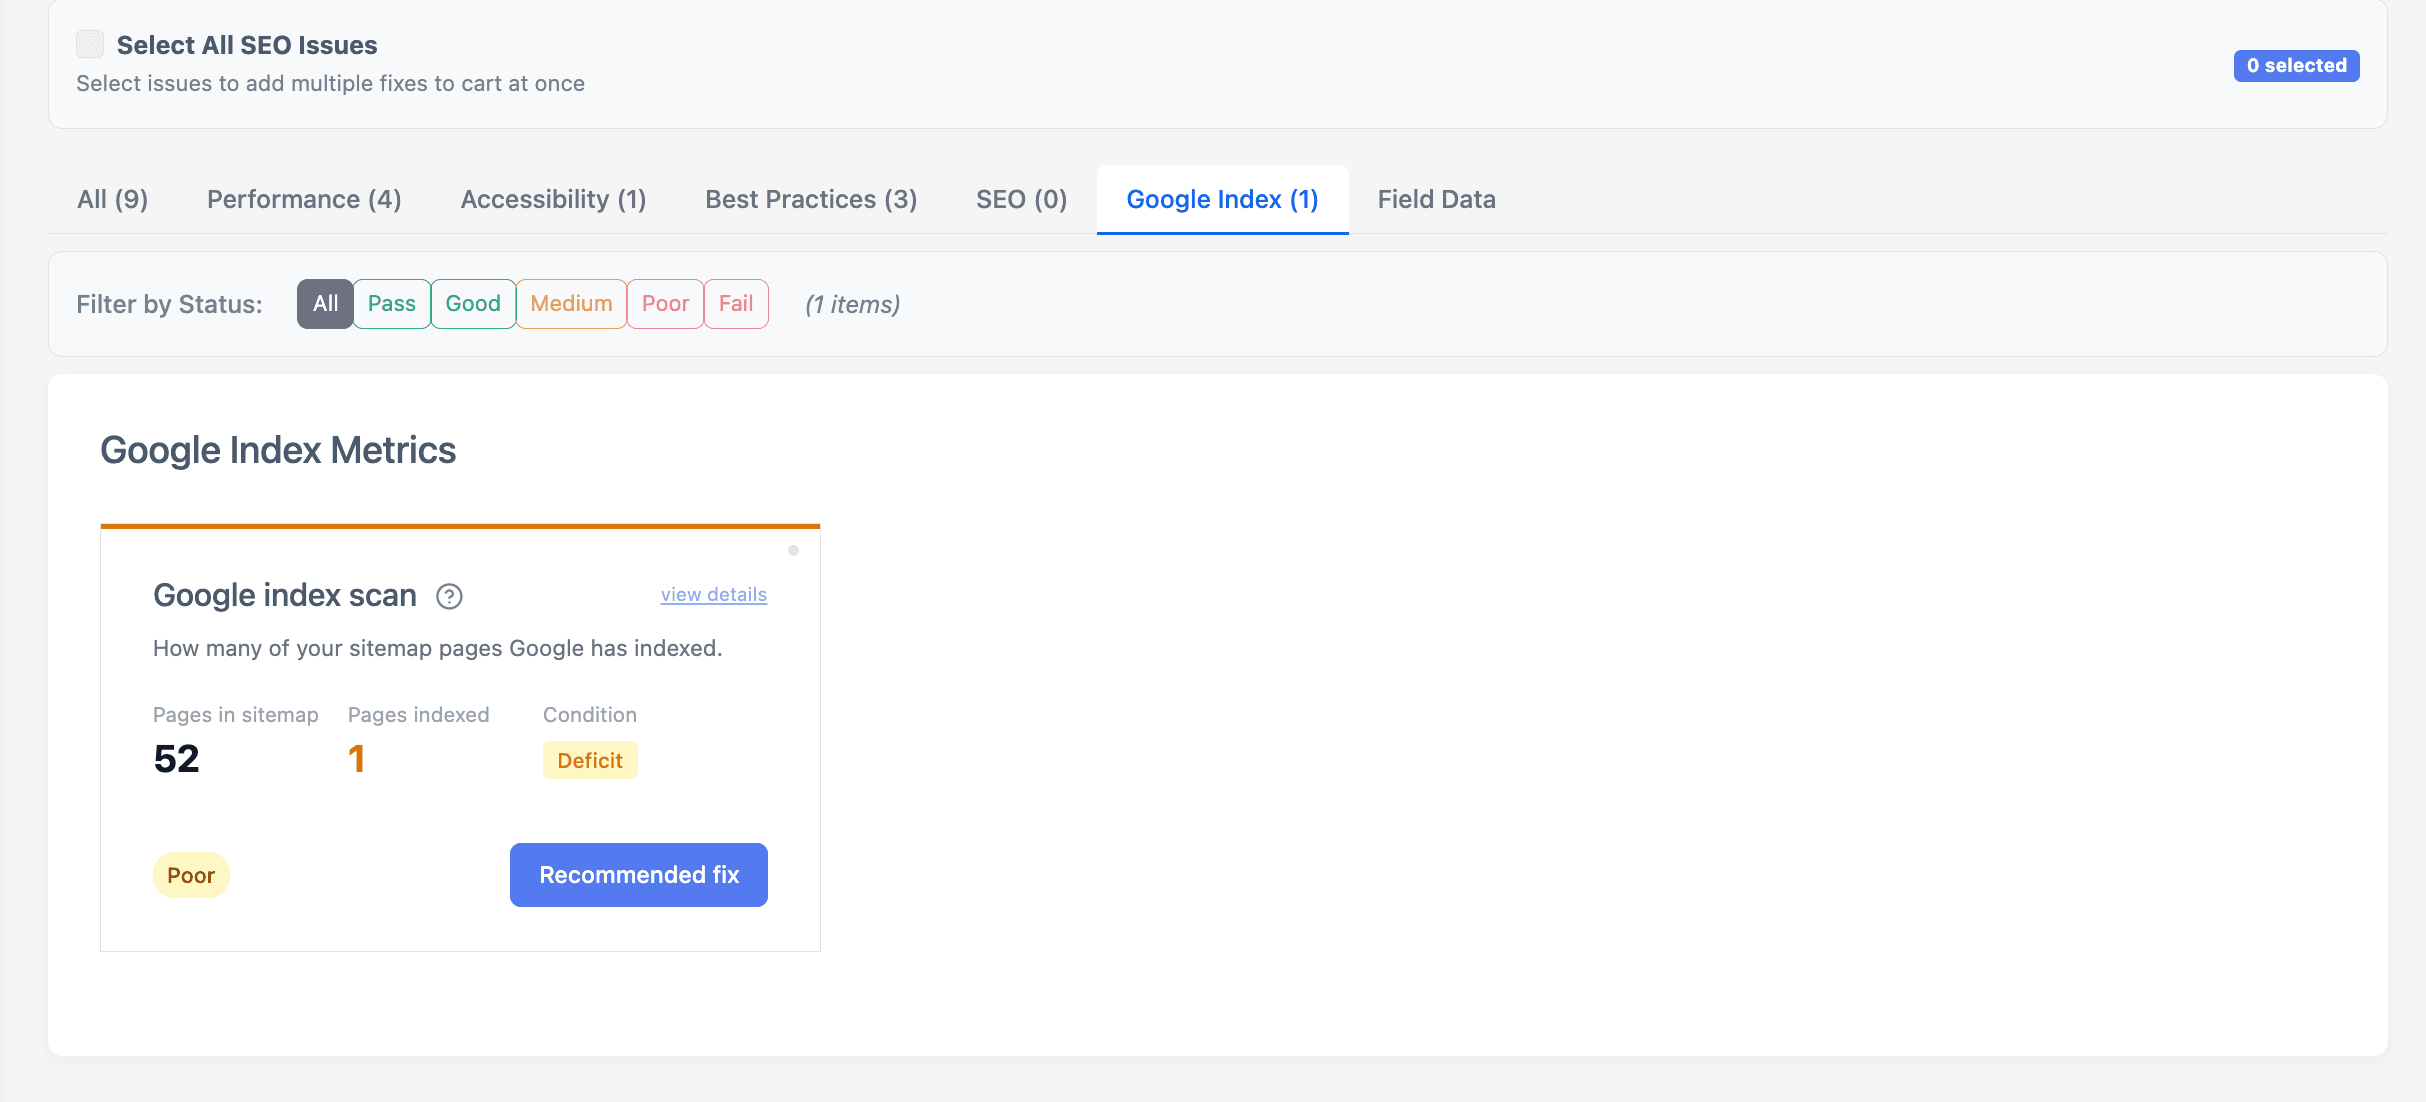
- Indexing, through a Google Index scan that compares the pages in your sitemap against the pages Google has actually indexed, so a migration that leaves old pages stuck in the index or new pages failing to index shows up as a divergence rather than a mystery traffic drop
- Redirects and HTTPS configuration, catching broken redirect chains and certificate problems
- SSL certificate status, so a certificate that failed to transfer is flagged before it blocks visitors
- Broken links, catching internal references that were missed
- Contact form delivery, so a form that stopped working on the new platform is caught before leads are lost
- Page speed and Core Web Vitals, so a performance regression on the new setup surfaces immediately
- Technical SEO and accessibility, so problems introduced in the rebuild do not sit unnoticed
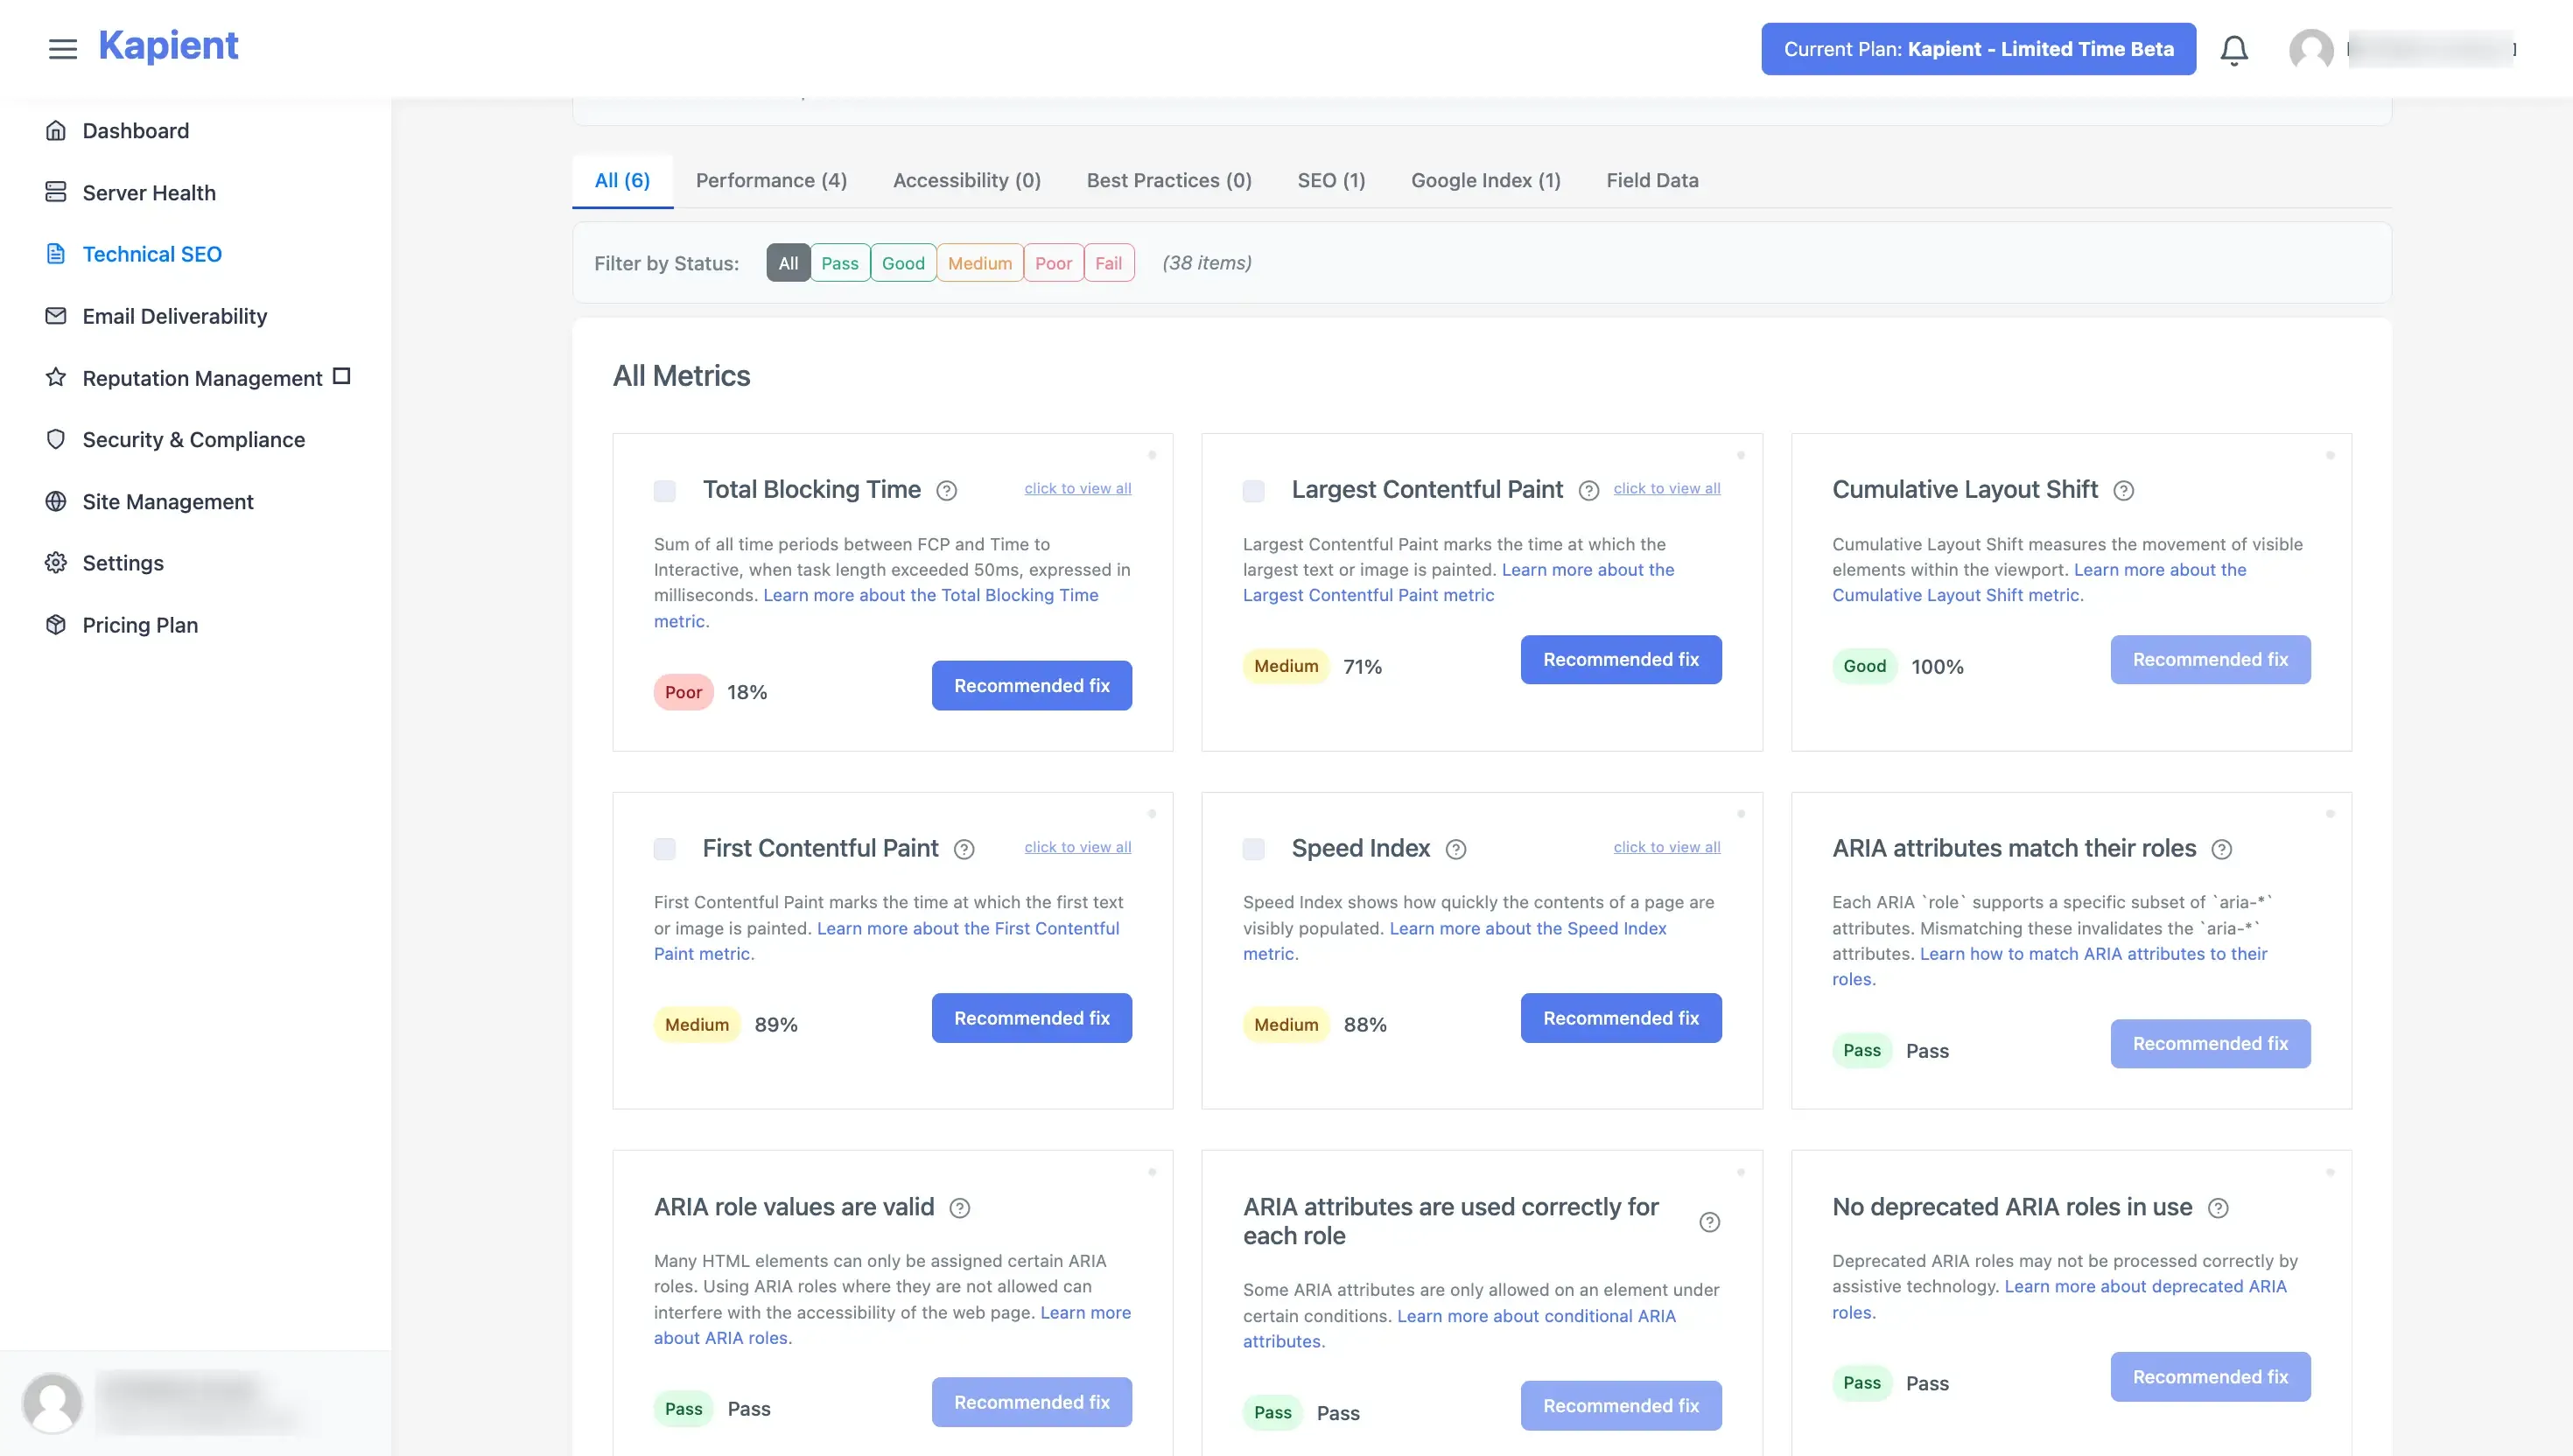
When something is flagged, you get an email, and in your Kapient dashboard the issue carries a "Recommended fix" button that reveals plain-English steps for your specific setup. During the chaotic weeks after a migration, that is the difference between catching a broken redirect on day two and discovering it through a ranking report on day thirty.
For agencies and freelancers, this is also the strongest possible argument for a monitoring retainer around a migration project. A migration is exactly when a client's site is most fragile, and catching a post-launch failure the day it happens, rather than the month the client notices their traffic fell, is what turns a risky project into a demonstrable win. It fits naturally into a website care plan, and the post-migration weeks are when it proves its value most clearly.
After the Dust Settles
Once the site is stable, finish the job:
- Document the migration: what went well, what broke, and how long recovery took, for next time
- Track rankings and traffic against your benchmarks for at least 90 days, since it is normal for rankings to dip and recover over a couple of months
- Keep monitoring, because a migrated site is a changed site, and changed sites drift, exactly the pattern in our website decay timeline
- Cancel old hosting only once Google has fully indexed the new site and traffic has stabilized
A migration is a project with a clear finish line only if you monitor long enough to know you crossed it.
A migration is not done on launch day. It is done when you know nothing broke. Kapient monitors your migrated site continuously across 74+ technical and quality factors, from indexing and redirects to SSL, forms, and speed, and emails you the moment something breaks, with plain-English fixes. Start monitoring free and protect the rankings you worked to keep.
Frequently Asked Questions
What is a website migration?
A website migration is any major change to a website's domain, platform or CMS, structure, hosting, or protocol (such as HTTP to HTTPS). Many migrations combine several of these at once, for example a rebrand that changes the domain, platform, and URL structure together. The more that changes in one migration, the higher the SEO risk.
Does website migration affect SEO?
Yes, usually a small, temporary dip in the short term while search engines recrawl and re-rank the changed site, followed by a recovery. A well-executed migration is neutral to positive long term. Permanent losses are caused by preventable mistakes like missing redirects or a leftover noindex tag, not by migration itself.
How do I migrate a website without losing traffic?
Benchmark your current site first, build and test on a hidden staging site, map every old URL to a new one with 301 redirects, remove all staging blocks at launch (especially noindex tags), submit your sitemaps and a Change of Address in Search Console, and monitor closely for weeks afterward. Most traffic loss comes from redirect, indexing, or technical failures that continuous post-migration monitoring catches early.
What is the most common website migration mistake?
Leaving a noindex tag on the live site after launch. Staging sites are set to noindex so they do not appear in search, and if that tag is not removed at go-live, the new site tells Google not to index it and disappears from search results. Missing or broken redirects are a close second.
How long does it take to recover rankings after a migration?
A temporary dip of a few weeks to a couple of months is normal as Google recrawls and re-ranks. Larger or more complex migrations take longer, and some studies have found sites needing many months to fully regain traffic. Watching your indexed page count and rankings recover against your pre-migration benchmarks is the clearest sign the migration is on track.
Should I use 301 or 302 redirects for a website migration?
Use 301 (permanent) redirects for migration. A 301 tells search engines the move is permanent and that ranking authority should transfer to the new URL. A 302 (temporary) redirect signals the change is not permanent, so it does not reliably pass ranking signals and should only be used when the original URL will genuinely return.
Written by
Khul Anwar
Growth
Khulanwar leads content and growth at Kapient, where the team helps small businesses and agencies keep their websites healthy, fast, and compliant. He writes about website monitoring, technical SEO, and the maintenance work that quietly keeps sites from breaking after launch.
Related articles
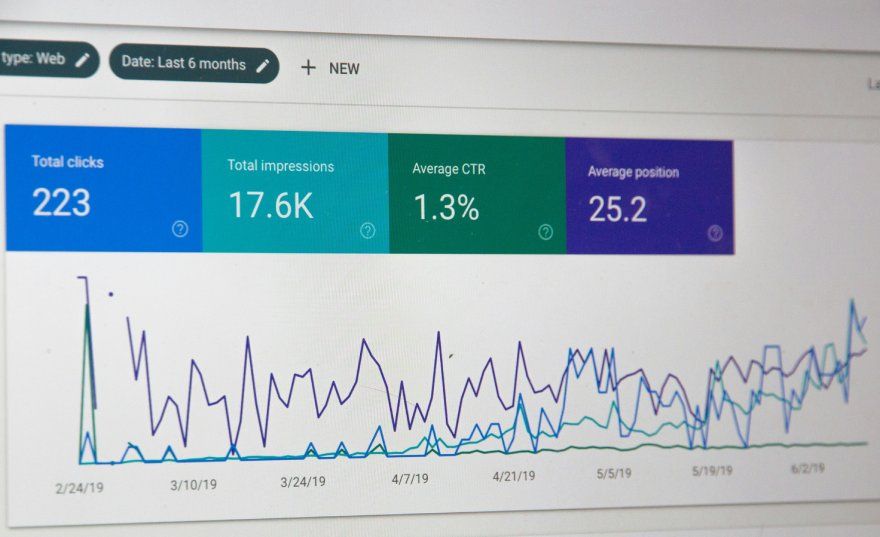
SEO Metrics: The 15 That Actually Matter in 2026 (and the Ones to Ignore)
August 21, 2026

How to Remove Hacked Spam Pages That a Hacker Indexed on Your Domain
August 11, 2026

SSL Certificate Expired: How to Fix It and Stop It Happening Again
July 24, 2026

How to Fix a WordPress Contact Form Not Sending Emails
July 23, 2026